7.3 POWERSTROKE DIPSTICK ADAPTER SEAL KIT INSTALLATION INSTRUCTIONS
Part number: 110448
Step 1: Disconnect both batteries negative cable for safety since the starter has to be removed.
Step 2: Remove engine oil dipstick and hold down for dipstick tube. On early models the dipstick hold down is near the middle of the valve cover. On later models the tube hold down is at the front of the valve cover.
Step 3: Remove the starter from the vehicle.
Step 4: Pull the dipstick tube up out of the adapter.
Step 5: Insert a holding tool into the adapter so that it doesn’t fall into the oil pan. Make sure that whatever holding tool you use has enough length or a wire or rope tied to it so if it does fall into the oil pan you can retrieve it through the hole. IMPORTANT!! ***Make sure you note which direction you dipstick tube is facing! You will need to have it facing the same way when the repair is done or the dipstick tube will not go back into the adapter and you will have to redo the repair***
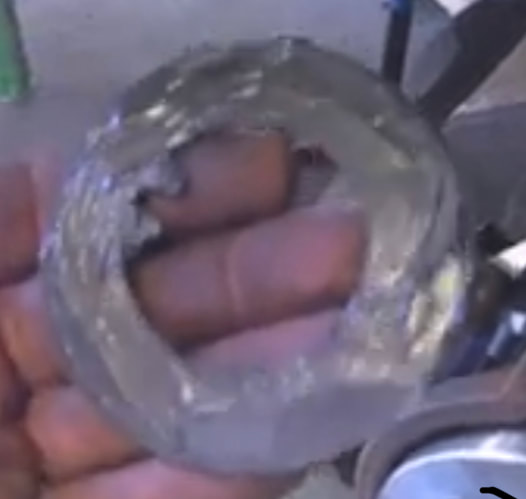
Step 6: Remove the factory nut from the outside of the adapter. Slide it over the holding tool and discard.
Step 7: Carefully push the adapter into the pan and extract the O ring from inside using your finger or a pick tool.
Step 8: Pull the adapter back into the hole and clean the surfaces well with brake clean and rags. For heavily soiled situations you might need to wire brush as much debris off as you can. ***Make sure the dipstick tube hole is facing in the correct direction***
Step 9: Once the surfaces are clean, spread a thin layer of Ultra Black silicone sealer on one side of the gasket and slide over the tool. Align the two notches in the gasket with the same in the adapter. Sealer goes towards the pan. Figure A and B
Step 10: Apply a little more sealer to the threads on the adapter and slide the Stainless washer over the tool. Line up the notches on the washer and place against the gasket. Figure C
Step 11: Slide the new aluminum nut over the tool and carefully start the threads on the adapter. You need to tighten the nut with a pair of slip joint pliers or a wrench. Make sure that it is tight enough to squeeze the sealer out around the gasket, but not so tight as to strip the threads.
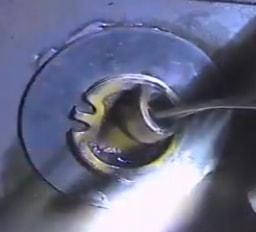
Step 12: Once the nut is tight, remove the holding tool. Figure D
Step 13: Remove the old o ring from the dipstick tube and install the new o ring provided in the kit onto the bottom of the dipstick tube in the groove. Use a small amount of the silicone sealer or a silicone based lubricant on the new o ring and install the tube back into the adapter.
Step 14: Install the dipstick tube hold down bolt.
Step 15: Install the starter back on the vehicle.
Step 16: Reconnect both batteries.
Step 17: Start the vehicle and check for leaks.


